

one friend kindly handed over her Urban Outfitters wall map when she noticed a similar project hanging up in my bedroom. after purchasing a few fairly cheap supplies, she came out with a vintage looking piece that is now 100% original. and i came out with some baked goods as a thank you. if that is how twenty-somethings pay each other, i don't want to grow up.
supplies:
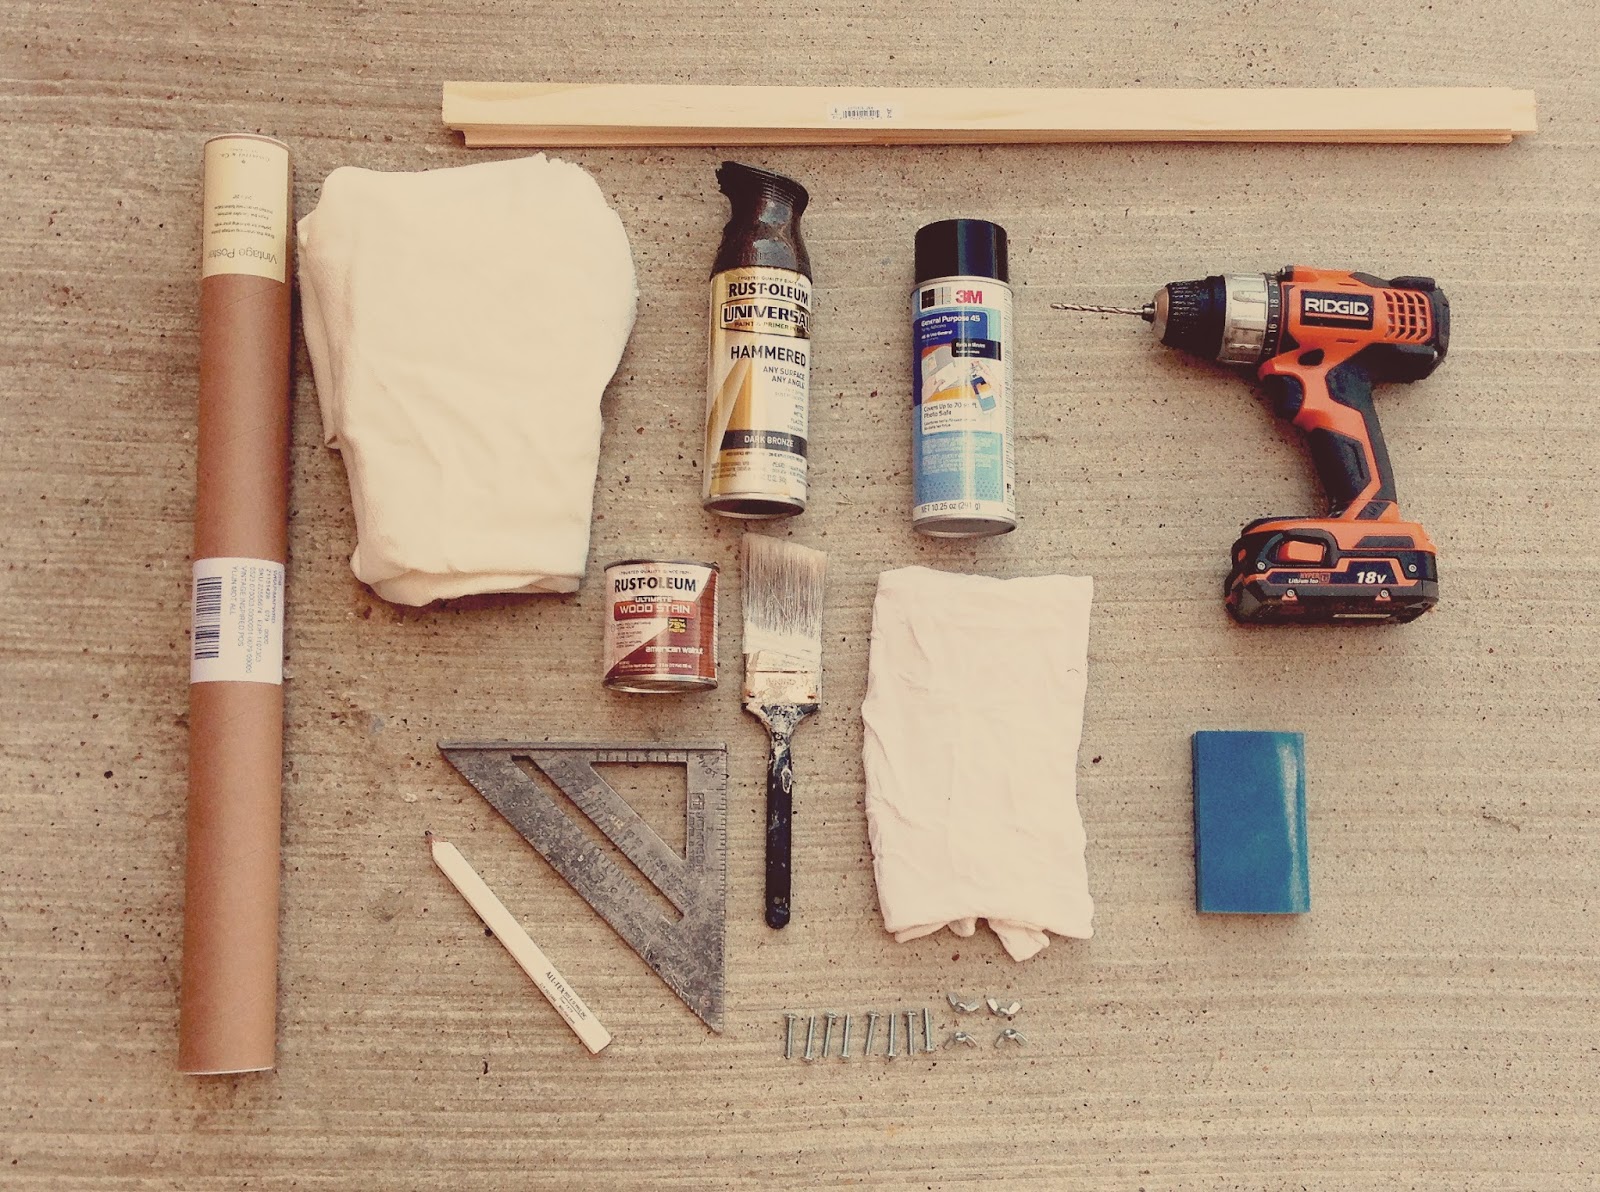
- 4 pieces of wood cut down to the width of your print (i found mine in the crown molding section of Home Depot and I used the hand saw there to cut it down)
- a print of your choice (this one is from Urban Outfitters but you can also use Staples to print anything for about $6)
- canvas material (or any solid medium-weight fabric)
- spray paint
- spray adhesive
- a power drill
- wood stain
- a paint brush
- old cloths to wipe up spills and excess stain
- a medium grit sand paper
- a pencil
- a ruler
- 8 1-1/4" screws
- 4 bolts (these won't show against the wall so just find some that fit the screws)
not pictured
- rope or twine
- wood glue
step 1:
remove the price stickers from the wood pieces and sand the rough edges. don't forget the ends that you cut yourself. mine were in horrible shape because that handsaw in the hardware store was not easy to use on such thin wood pieces!

step 2:
coat the wood slats with a thin layer of stain. i used some old scraps of cloth to wipe off the excess stain and keep it from looking too streaky. you could also spray paint the wood if that is the look you would rather go for. i preferred a more "rustic" feel so i went with a walnut stain.

step 3:
spray paint your hardware. this is not a necessity. again, i was going for a more "rustic" look for this project since the map looked vintage, so i wanted to give the shiny metallic screws a coat of hammered spray paint from Rust-oleum. this was also left over from another project, so if you are keeping costs low, avoid this step.

step 4:
iron your fabric. this step is pretty important. though i do not get along with that steaming scorch machine, it helps so much in the coming steps to start out with a wrinkle-free surface. i used a bit of starch as well just to keep the fabric as flat as possible.

step 5:
spray the fabric with adhesive and very carefully spread out your poster. this is a quick process since the glue dries quickly, so i didn't snap pictures. basically just take the spray adhesive and coat the fabric very generously with glue. i rolled up the poster (image side in) and slowly unrolled it on top of the fabric while gently smoothing out the air bubbles and wrinkles. this process makes your poster look less like paper and more like a heavy vinyl or canvas print. i also believe that the stock of paper i was working with was too fragile and could not hold the weight of the wood and other materials without tearing.

step 6:
weight the poster down with something heavy. i used some old moving boxes and paint cans which worked quite well. i left this over night, but the glue does dry quickly (probably within an hour). once this is dry, cut off the excess fabric.

step 7:
use the ruler to measure about two inches away from the end of each one of the wooden slats.

step 8:
drill! be VERY careful with this step. go slow and you'll be fine.

step 9:
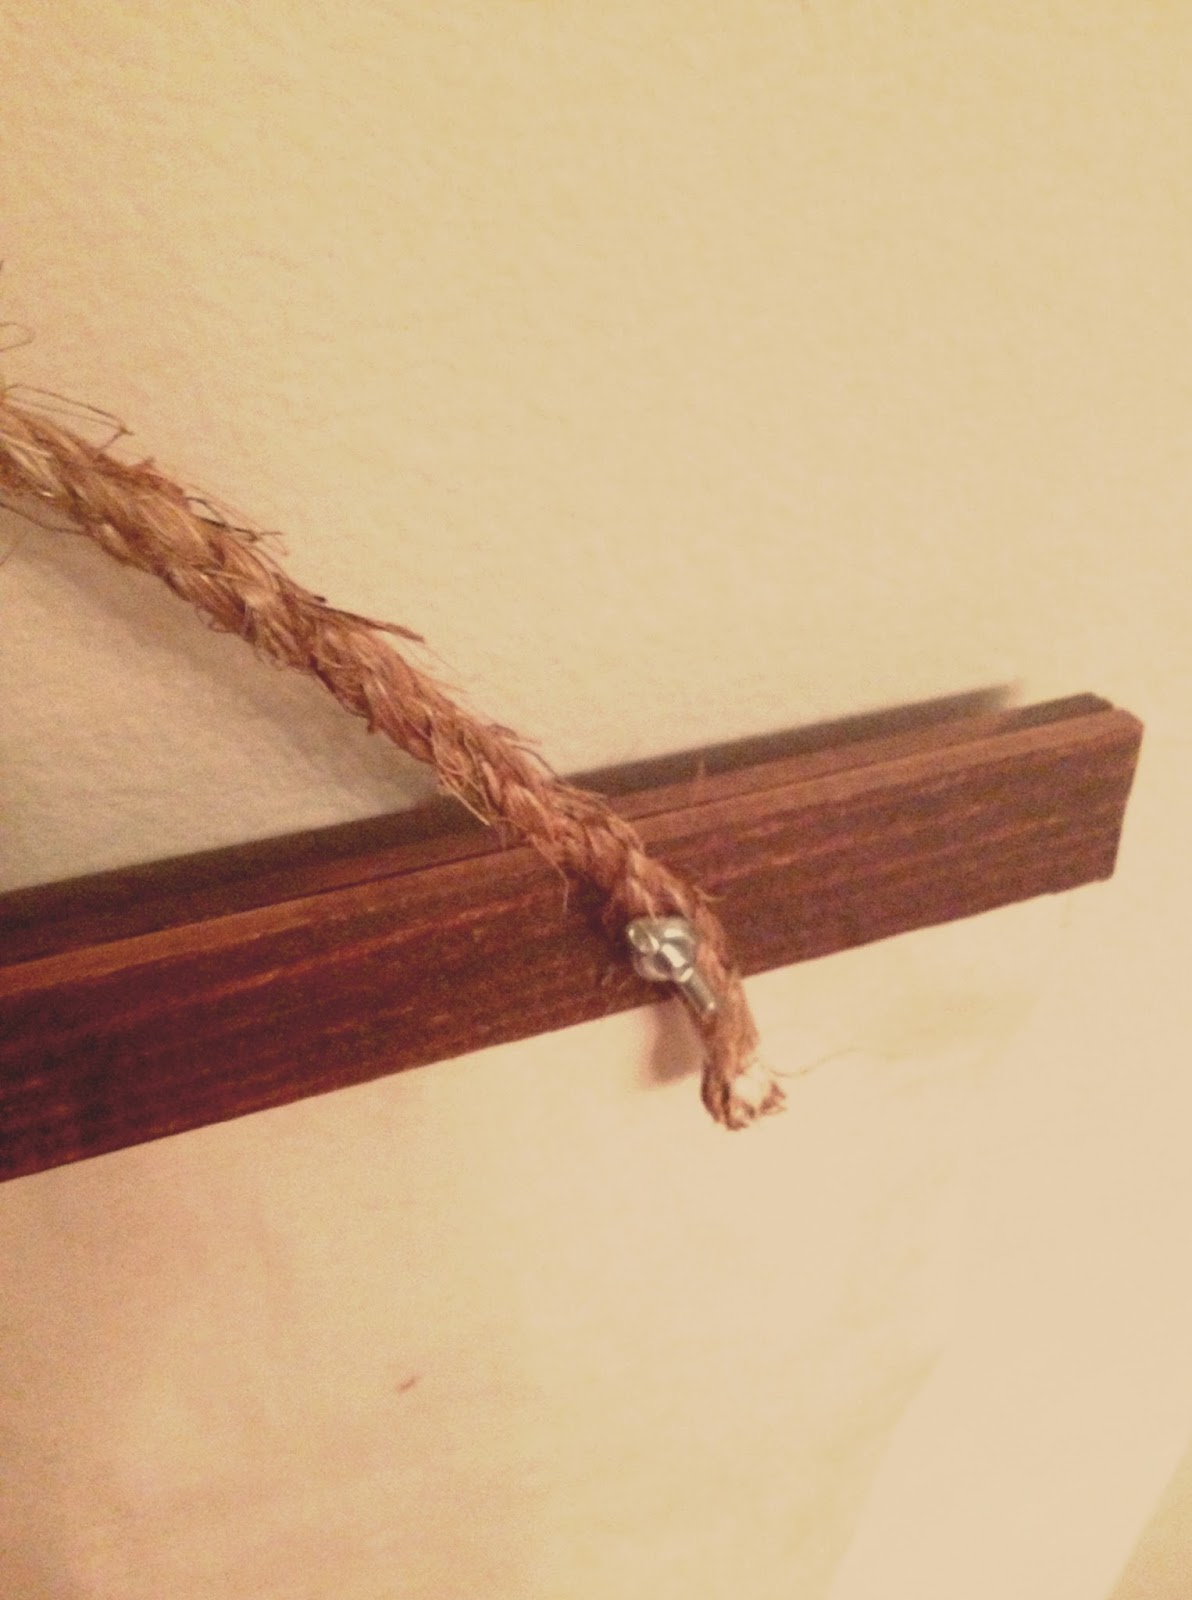
take two of the wood slats, and place a small bead of wood glue on each one. lay the top edge of the poster between the two slats and wipe off the excess glue with your old cloth as you clamp the wood pieces tightly with your hands. let this dry for at least 30 minutes. repeat the same process with the bottom end of the poster. next, cut your twine to the appropriate size for your poster. when the wood slats have dried completely, take your screws, and drill them through the holes that you made in the wood slats earlier so that the head of the screw is on the front of the poster. this may take some force as the holes don't always perfectly align, but you can do it! once the screw is clear on the other side, take your twine and wrap the cord between the exposed screws at the top of your poster. you can use a small amount of wood glue to keep it in place, and then tape the end of the twine so that it keeps from fraying. lastly, attach the bolt tightly to the back of each screw. the finished product should look like this on the top.
and now a drum roll please......

taaa-daaaaaaa! the finished product! look how great it looks! i (and now several friends) now have something truly unique hanging on our apartment walls that cost us much less than a custom frame would have. now onto the next project! (p.s. i expect cookies this time)
No comments:
Post a Comment